Create and Manage Documents
Available on all tiers:
Contents
Create a Document
-
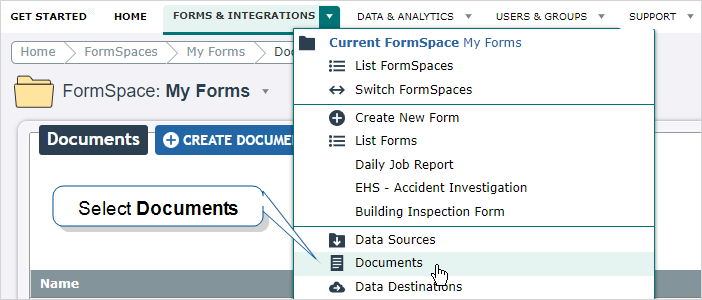
Hover over Forms & Integrations, and then select Documents.
-
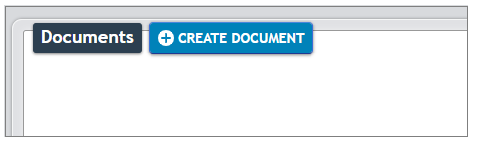
From the Documents page, select Create Document.
-
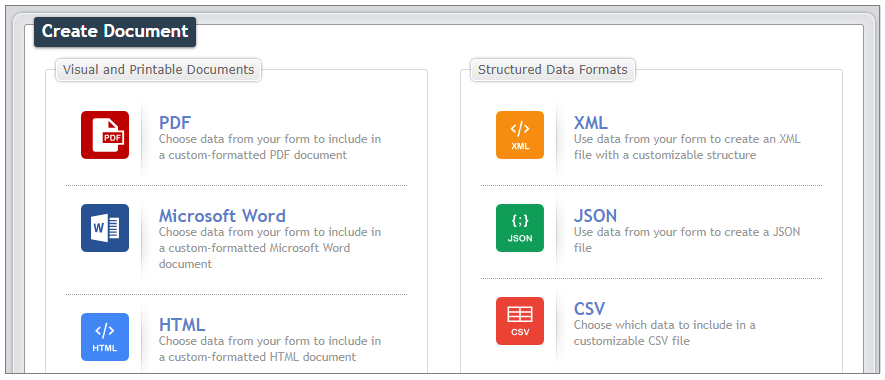
Choose a document type.
-
Fill out the Document Basics, as described below.
-
There will be settings specific to your document type; review the documentation for specific document type for more details.
Settings: Document Basics
Name/Description
Give the document a unique name. Optionally provide a description.
Document Unique Identifier
The Document Unique Identifier (unique ID) is created automatically based on the name of the document. You can customize the unique ID as needed.
Tip:If you plan to use the embedded documents function in a FreeMarker template, you’ll need the unique ID of the embedded document.
Filename
This name applies to all instances of the document, including downloaded documents and documents sent by Data Destinations.
You download files from multiple form submissions so that you can work locally.
You or your customers receive multiple messages generated by Email Destinations.
- Use Data Reference Expression Language to reference answers in your forms.
- Static text can also be included.
- For example, %r -- %a[Customer Name] would name the file like "20140812-180001002 -- John Smith".

- Some Data Destinations
 A Data Destination specifies where to send data from a submitted form. You can use Data Destinations to automate data sharing and storage, routing data to a specific service (such as email or cloud storage) in several different formats. will overwrite files with duplicate names. Make sure file names are unique by including one or more of:
 - %r - the submission's reference number -- for example, 20140920-1815562464
- %r[id] - the submission's ID - for example, 1815562464
- %t - the time the form was submitted
Source Language (PDF, Microsoft Word, and HTML Documents)
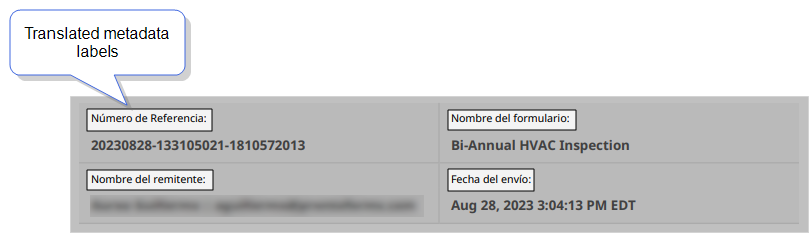
Choose the language for the Document Metadata labels and other system-generated content like page numbering. The following example shows the Document metadata labels translated to Spanish.
When you choose a Source Language, the system automatically shows a list of fonts that work for that language. You can choose a different Font from the list, or change the Font Size.
Info:If your team has the Multi-Language feature, refer to the topic Multi-Language Document Setup Options for more details on the Source Language. This applies to documents that have a Standard (not Custom) layout.
Document Time Zone Source
Choose a document time zone source. This is the time zone for all dates and times in your document.
- Team Preference Setting: Will use the time zone chosen for the team
- Form Submission: Will use the time zone the form submission is made from (as chosen on the mobile device).
- Custom: Choose a time zone.

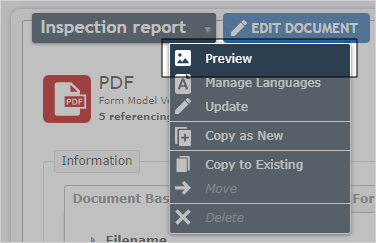
Preview a Document
View a preview of the document. Questions will be answered with placeholders.
-
Hover over the Forms & Integrations tab and select Documents.
-
Select the document from the list.
-
Hover over the dropdown beside the document name and select Preview.
-
The file will download to your computer. Open it to view it.
Edit a Document
-
Go to the desired document.
-
Select Edit Document beside the document's name.
Copy a Document
Make a new copy of the document in the current FormSpace![]() FormSpaces are where forms are stored and organized in the TrueContext Web Portal. A TrueContext Team may have multiple FormSpaces, depending on their needs. Admins can set FormSpace permissions to control which users have access to the forms in that FormSpace. or copy it to another FormSpace.
FormSpaces are where forms are stored and organized in the TrueContext Web Portal. A TrueContext Team may have multiple FormSpaces, depending on their needs. Admins can set FormSpace permissions to control which users have access to the forms in that FormSpace. or copy it to another FormSpace.
Note:Any document that uses a custom template provided by the TrueContext Professional Services team is designed to work with a specific form. If you copy this document, it might not work with other forms.
To Copy the Document:
-
Hover over the Forms & Integrations tab and select Documents.
-
Select the document from the list.
-
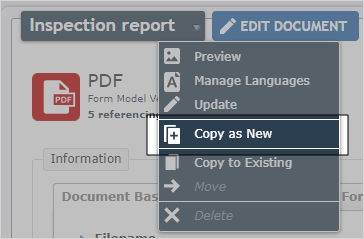
From the drop-down menu beside the document name, select Copy as New.
-
Select the Target FormSpace and document name.
- Target FormSpace: The FormSpace the new document will be created in.
- Target Document Name: The name of the new document.
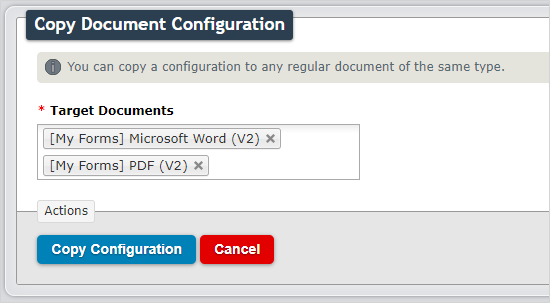
Copy Document configuration to an existing Document
The configuration of visual documents may be complex, and users may want to use the same configuration in another visual document, especially other visual document types (PDF to Word, Word to HTML, for example).
Note:Any document that uses a custom template provided by the TrueContext Professional Services team is designed to work with a specific form. If you copy the configuration of this document, it might not work with other forms.
To copy the Document configuration:
-
Hover over Forms & Integrations, and then select Documents.
-
Select the document from the list.
-
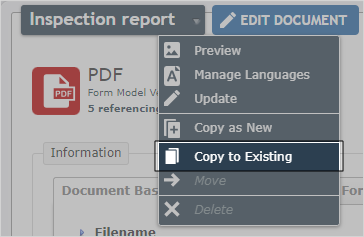
From the drop-down menu beside the document name, select Copy to Existing.
-
Select one or more PDF, Word, or HTML documents from the list. The document configuration will be copied to all documents in this list.
-
After completing the required fields, select Copy Configuration.
Note:If you have a Multi-Language Document, the system copies any additional languages set up in your source document. If any of your target documents have languages already set up, the source document languages will overwrite them.
Move a Document
-
Documents that are “In Use” by a form cannot be moved.
-
Any document that uses a custom template provided by the TrueContext Professional Services team is designed to work with a specific form. If you move this document, it might not work with other forms.
To Move a Document:
-
Hover over Forms & Integrations, and then select Documents.
-
Select the document from the list.
-
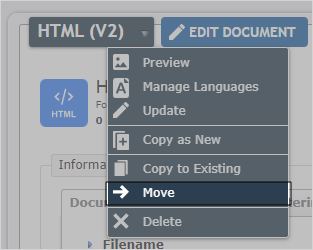
From the drop-down menu beside the document name, select Move.
-
Required fields are highlighted with an asterisk.
- Target FormSpace: The FormSpace the document will move to.
- Target Document Name: Re-names the document when moved.
Delete a Document
Note:You cannot delete a document that is linked to any form version (current or previous).
Warning:When you delete a document, the action is permanent and cannot be undone.
To Delete a Document:
-
Hover over Forms & Integrations, and then select Documents.
-
Select the document from the list.
-
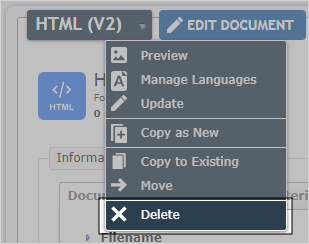
From the drop-down menu beside the document name, select Delete.
-
A pop-up window will appear to confirm your action. Select OK to delete.
Link a Document to a form
To link a Document to a form and make the Document available to download:
-
Create or edit a form.
From the Forms & Integrations menu, create or edit a Mobile App form.
-
To create a new form:
Forms & Integrations > Create New Form > Build a Mobile Form
Enter a name and description, and then save the form.
-
To edit a form:
Forms & Integrations > List Forms > FormName > Edit Form
where FormName is the form that you want to edit.
-
-
Select Settings > Documents.
-
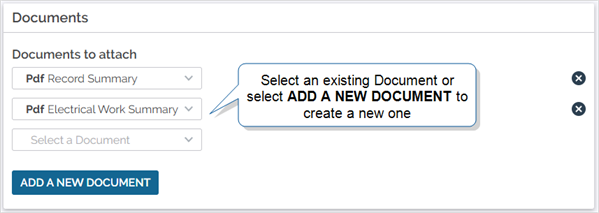
Select one or more documents. You can select from existing documents or add a new document:
-
To select an existing document, select a Document from the list.
-
To create a new Document, select Add a new document. Once you’ve created the Document, you can link it to the form.
-
Info:The topic Documents describes why you might add a Document to a form.
Link a Document to a Data Destination
Data Destinations send data from submitted records to locations you set up. If you link a Document to a Data Destination![]() A Data Destination specifies where to send data from a submitted form. You can use Data Destinations to automate data sharing and storage, routing data to a specific service (such as email or cloud storage) in several different formats., the system sends the Document with the data.
A Data Destination specifies where to send data from a submitted form. You can use Data Destinations to automate data sharing and storage, routing data to a specific service (such as email or cloud storage) in several different formats., the system sends the Document with the data.
Info:Some Data Destinations are not compatible with Documents. The section Data Destinations that require a Document describes destinations that are compatible with Documents.
To link a Document to a Data Destination:
-
Create or edit a form.
From the Forms & Integrations menu, create or edit a Mobile App form.
-
To create a new form:
Forms & Integrations > Create New Form > Build a Mobile Form
Enter a name and description, and then save the form.
-
To edit a form:
Forms & Integrations > List Forms > FormName > Edit Form
where FormName is the form that you want to edit.
-
-
Select Destinations.
-
Is there a Data Destination linked to the form?
-
If no, select ADD A DATA DESTINATION.
Result: This opens a list of existing destinations.

Choose a destination. You can also select Create Destination to create a new one. This adds the new destination to the list for you to select.
-
If yes, go to step 4.
-
-
In the Documents section, select an existing document. You can also select Add a New Document to create a new one to select.
Info: You can also Link a New Document to an Old or Existing Form Version.
Data Destinations that Require a Document
The following table describes the Data Destinations that support or require a document.
| Requires a Document | Can have a Document, but is not required | Not compatible with Documents |
|---|---|---|
| Microsoft SharePoint Server | Amazon S3 | Google Sheets |
| Salesforce Apex REST | Box | Dispatch |
| WebDAV (HTTP PUT or PATCH) | Customer Feedback | Microsoft SharePoint List |
| Dropbox | SMS | |
| FTP/Secure FTP | ||
| Google Drive | ||
| HTTP | ||
| HTTP File Upload | ||
| Microsoft OneDrive | ||
| Microsoft OneDrive for Business | ||
| Microsoft SharePoint Document Library | ||
| Salesforce (except Apex REST) | ||
| ServiceNow Table | ||
Info:When you attach a Multi-Language Document![]() A Multi-Language Document is an output Document connected to a Multi-Language Form. You can generate the Document in any of the languages configured in the form. The Document uses the form's translation files to translate headings, question text, and other content. to a Data Destination, you can select languages for the document files. The topic Steps to attach a Multi-Language Document to a Data Destination describes the language options in more detail.
A Multi-Language Document is an output Document connected to a Multi-Language Form. You can generate the Document in any of the languages configured in the form. The Document uses the form's translation files to translate headings, question text, and other content. to a Data Destination, you can select languages for the document files. The topic Steps to attach a Multi-Language Document to a Data Destination describes the language options in more detail.
Note:You can’t attach documents to a Repeatable Destination![]() A Repeatable Destination is a TrueContext Data Destination that sends data from a Repeatable Section to a field-based, third-party system.. This prevents duplication of the same document across multiple records.
A Repeatable Destination is a TrueContext Data Destination that sends data from a Repeatable Section to a field-based, third-party system.. This prevents duplication of the same document across multiple records.
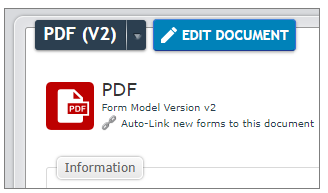
Auto-Link a Document to a Data Destination
You can set up your system to automatically connect auto-linked Data Destinations to any new forms you create. You can also auto-link Documents to an auto-linked Data Destination. If you want most forms to send the same Documents to the same Data Destination, auto-linking saves extra steps.
Note:Data Destinations only auto-link to newly created forms.
To set up auto-linking for Documents and Data Destinations:
-
Create or edit a Data Destination.
From the Forms & Integrations menu, create or edit a Data Destination.
-
To create a new Data Destination:
Forms & Integrations > Data Destinations > Create Data Destination
Select the type of Data Destination that you want to create.
-
To edit a Data Destination:
Forms & Integrations > Data Destinations > Data Destination Name > Edit DATA DESTINATION
where Data Destination Name is the Data Destination that you want to edit.
-
-
Select the Destination Basics tab.
-
Select Auto-Link new forms.... New forms that you create or import are automatically connected to this Data Destination.
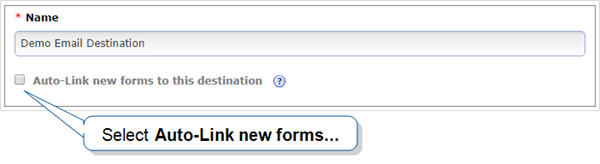
Result: When you select Auto-Link new forms..., the option to Auto-Link documents… displays.
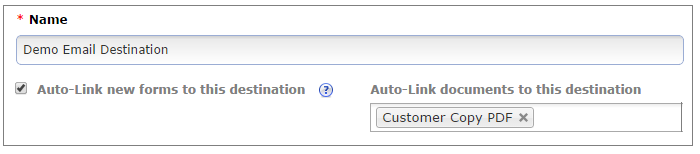
Tip:If you want to change the list of auto-linked Documents for a specific form, open the form and go to Destinations. In the Documents section, you can add and remove Documents connected to the Data Destination.
Link a New Document to an Old or Existing Form Version
When deploying a form, it's easy to forget to attach certain destinations or documents, resulting in a backlog of hundreds of form submissions that haven't gone to the correct place, or have the wrong document attached.
Now, it's possible to attach the correct Data Destinations and documents to an existing form version, saving yourself time by automatically queuing the form submissions for re-processing. The process is simple:
-
Navigate to the Form Versions page of your desired form.
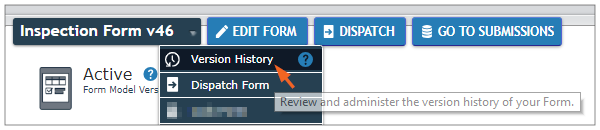
-
Select the applicable version of your form (the one with the form submissions made to it) from the listing.
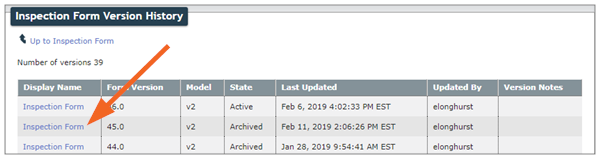
-
Select the Form Outputs tab, and then Edit Form Outputs.

-
Attach the correct Destinations and/or Documents, and select Update.
-
The original form submissions will join a queue for re-processing with the correct documents and destinations, ensuring a timely and stress-free experience.